How to convert old laptop into a server?
Published 23 August 2026
You have an old laptop somewhere with a working CPU, working RAM, a disk, and a battery. That is a server that happens to have a screen attached.
Mine is an i 3 11 th gen with 8 GB of RAM, and it moves with me between my rented place and home. This post gets you to a machine that stays on, that you can reach from anywhere, and that is not exposed to the internet. What you run on it after that is a separate problem.
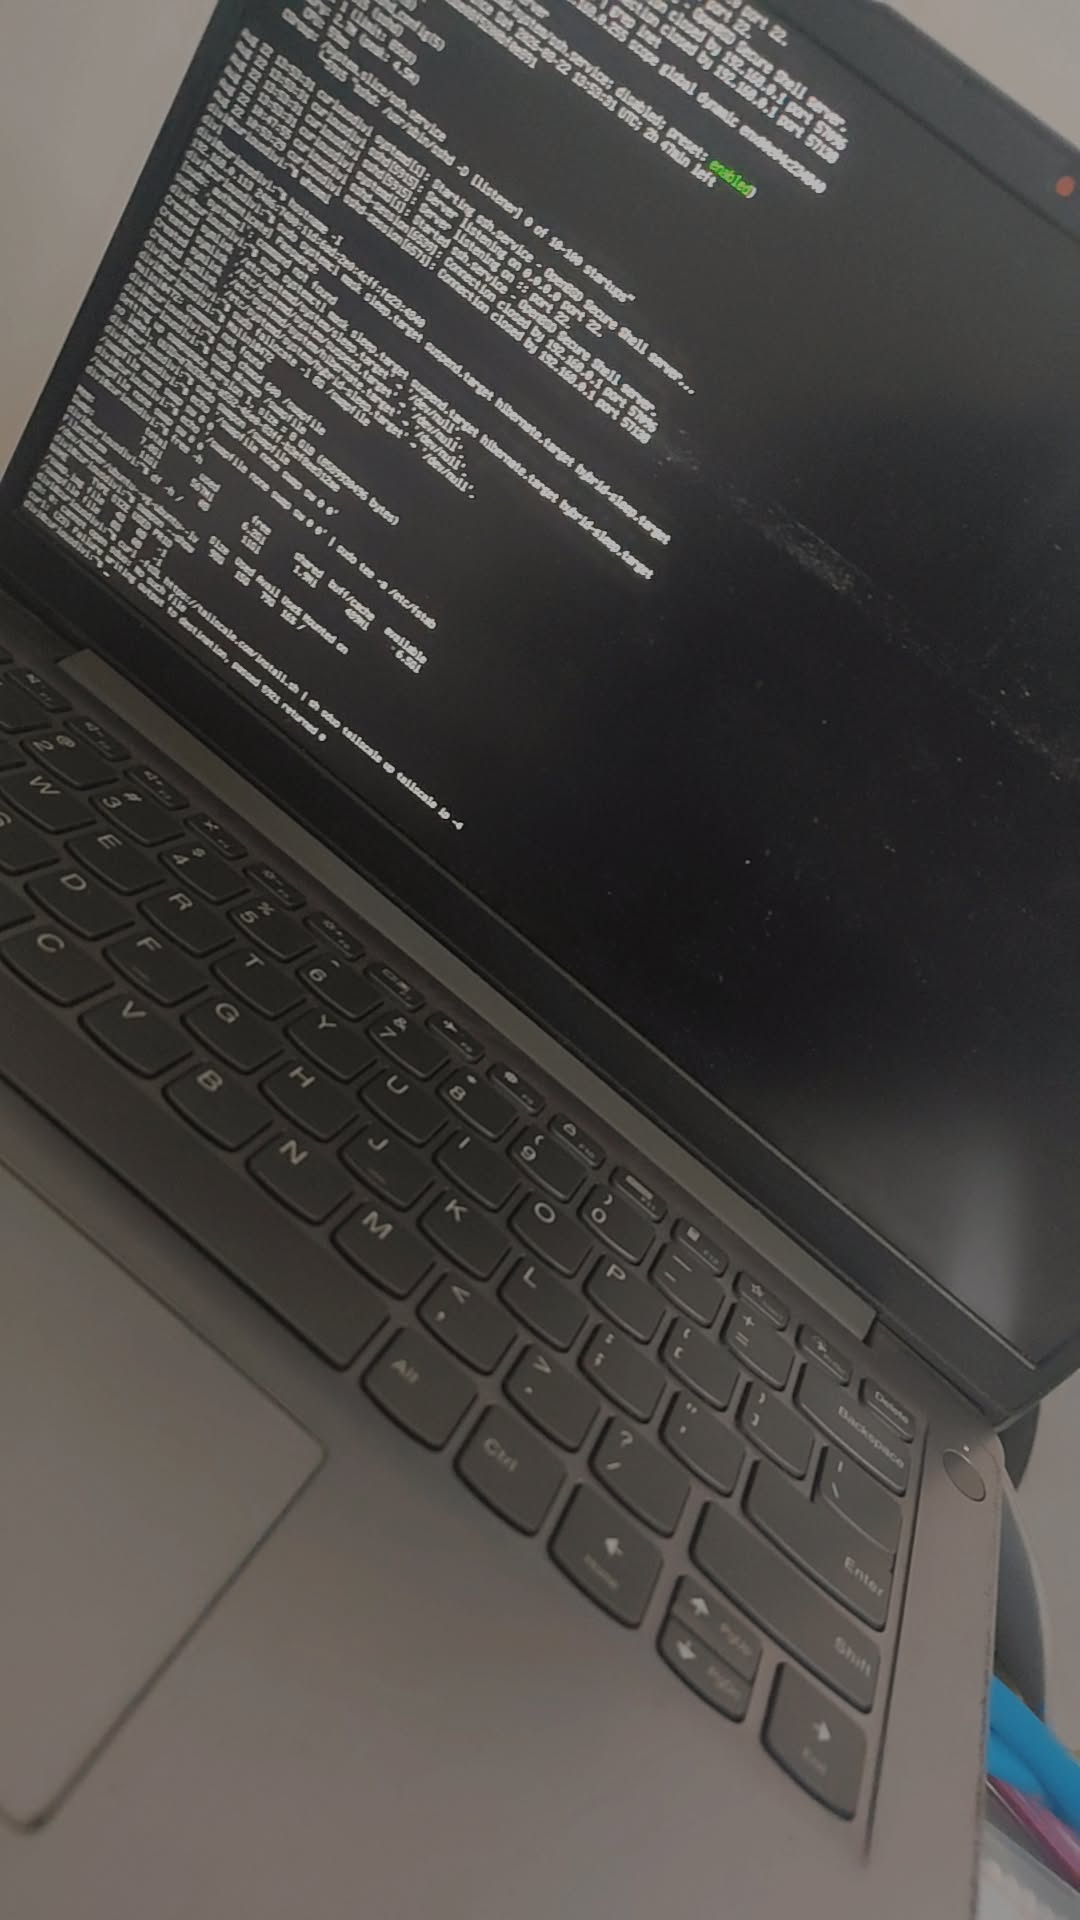
The what broke is in the build log. This one is the how.
Before you install anything
Go into the BIOS and set restore on AC power loss to Power On. Without it, every power cut means walking to the machine and pressing a button. Some consumer laptops do not expose this setting at all. Find out now, not in month three.
While you are in there, set the fan profile to balanced or performance. This thing runs all day.
Three physical things, then you can install:
The battery is your UPS. This is the actual reason to use a laptop instead of a Raspberry Pi or a mini PC. It rides out a power cut with no extra hardware. If your battery is dead, most of the argument for a laptop dies with it.
Blow the dust out. A machine that overheats will feel slow and you will blame the software.
Use a cable. I fought Wi-Fi before plugging in ethernet. More on that below.
Install Ubuntu Server, not Desktop
I used Ubuntu Server ⟨26.04 LTS⟩. LTS so I am not reinstalling next year.
A desktop install spends 1.5 to 2 GB of RAM on a graphical interface you will never see. On an 8 GB machine that is a quarter of your budget gone on a wallpaper. Install headless and connect over SSH.
Say yes when the installer offers to install the OpenSSH server. You will not have a screen later.
Stop it going to sleep
A laptop suspends when you close the lid, and a suspended server is a dead server.
Edit /etc/systemd/logind.conf:
HandleLidSwitch=ignore
HandleLidSwitchDocked=ignore
HandleLidSwitchExternalPower=ignore
Restart the service:
bash
sudo systemctl restart systemd-logind
Then kill sleep at the system level too:
bash
sudo systemctl mask sleep.target suspend.target hibernate.target hybrid-sleep.target
Test it properly. Close the lid, walk away for half an hour, then SSH in from another machine and run uptime. It should show continuous uptime with no gap. Ten seconds of testing proves nothing.
Get in without a screen
Copy your key over, then close the door behind you:
bash
ssh-copy-id you@<the-ip>
In /etc/ssh/sshd_config:
PasswordAuthentication no
PermitRootLogin no
Open a second terminal and confirm a key login works before you close the first one. Lock yourself out of a headless machine and the fix is finding a monitor and a keyboard.
Add swap while you are here. On 8 GB it is the difference between twenty seconds of slowness and a process being killed without explanation:
bash
sudo fallocate -l 8G /swapfile
sudo chmod 600 /swapfile && sudo mkswap /swapfile && sudo swapon /swapfile
echo '/swapfile none swap sw 0 0' | sudo tee -a /etc/fstab
Reach it from anywhere
Most guides tell you to forward a port on your router and set up dynamic DNS. Skip that.
Most Indian broadband puts you behind CGNAT, where you share one public IP with hundreds of other customers, so the port you are forwarding is not yours to forward. Check by comparing the WAN IP in your router admin page against what a "what's my IP" site says. If they differ, port forwarding was never going to work.
My machine also moves. It lives at my rented place and travels home with me, so the local IP changes every time. Anything built on a fixed address breaks on every move.
Tailscale handles both. It gives the machine one address that follows it onto any network, over an outbound connection, so nothing is open on your router.
bash
curl -fsSL https://tailscale.com/install.sh | sh
sudo tailscale up
Install it on your laptop too. Now ssh <hostname> works from anywhere, on any network, and you stop thinking about IP addresses.
Do the next bit now, or it breaks in six months. Tailscale expires node keys after about 180 days, and renewing one is interactive. On a headless machine that means finding a monitor, months later, when you have forgotten all of this. Go to the Tailscale admin console, Machines, your machine, and disable key expiry.
The Wi-Fi trap
I tried Wi-Fi first. Netplan threw an error I did not understand, so here is what was actually wrong.
The networkd renderer cannot match a wireless device with a match: block. It can only use the kernel interface name, so the interface name goes in as the YAML key directly, with no match: and no set-name:.
Two more things produce silence rather than errors. Ubuntu Server does not ship wpasupplicant, so netplan will generate a config that never associates and never tells you why. And without optional: true the boot hangs for two minutes at systemd-networkd-wait-online, which on a machine with no screen looks exactly like a machine that has died.
Apply changes with netplan try, never netplan apply. try reverts itself after 120 seconds unless you confirm, which is what saves your SSH session when you get it wrong.
I ended up running a cable and keeping Wi-Fi as a fallback. A machine I cannot look at should not depend on the flakiest link in the house.
Lock it down
Order matters. Allow SSH before you enable the firewall, or you lock yourself out.
bash
sudo apt install ufw
sudo ufw default deny incoming
sudo ufw default allow outgoing
sudo ufw allow in on tailscale0
sudo ufw allow from 192.168.0.0/16 to any port 22 proto tcp
sudo ufw allow from 10.0.0.0/8 to any port 22 proto tcp
sudo ufw allow from 172.16.0.0/12 to any port 22 proto tcp
sudo ufw enable
Three private ranges, not only the one you are on today. My machine moves between houses and I do not know what my next router hands out. SSH over the local network then works wherever it is plugged in, and I am not depending on Tailscale being healthy to get in.
Opening the whole tailscale0 interface is fine, because Tailscale authenticates before packets reach the host.
Then patches, because you will not remember to do this manually:
bash
sudo apt install unattended-upgrades
sudo dpkg-reconfigure --priority=low unattended-upgrades
Where it breaks
| Symptom | What is actually wrong | Fix |
|---|---|---|
| Unreachable after you walk away | Lid close suspended it | Mask the sleep targets |
| Unreachable after a power cut | No restore-on-AC-loss in BIOS | Set it, or accept manual restarts |
| IP keeps changing | DHCP lease, or Wi-Fi reconnecting | Reserve the IP on your router, use ethernet |
| Port forwarding does nothing | CGNAT | Tailscale |
| A process dies silently | Out of memory | dmesg -T | grep -i oom, then add swap |
| Slow after twenty minutes | Thermal throttling | Clean the fans, raise it off the surface |
| Disk full for no reason | Logs piling up | Cap journald, run ncdu / |
| Wi-Fi config valid, never connects | Missing wpasupplicant |
Install it |
What this does not do
If you host anything public on it, your home upload speed is the ceiling for every visitor. One disk, one machine, one power supply, and when it fails it is down until you are physically next to it. Mine also travels, so it is only up when I am settled.
Who should skip this
Anyone who needs uptime they can promise to someone else, or who would rather pay ⟨₹X⟩ a month than spend a weekend on this. A VPS is the better answer for you and there is no shame in it.
I did this because I wanted to know how it works, and reading about it was not going to teach me that. Electricity runs about ⟨X⟩ kWh a month, which is ⟨₹X⟩. The laptop was already bought and doing nothing.
Right now it is a machine that stays on, that I can reach from anywhere, and that has nothing listening on the open internet. That is the whole post. What goes on it is next.